Image of Agus Wahyudi
In this article we show you the guidelines and tricks to use light correctly in your street shooting. You will learn that light is a very important element in photography and that controlling it will help you to significantly improve your results. You should also keep in mind that light is not only limited to camera settings but there are many more natural parameters you need to know, so that you control colors, shadows and lights.
This is a guide on light and lighting in photography, for beginners. Here you will learn:
- How the position of light affects photography
- How to create ambient lights and shadows
- How different lighting conditions and sources change the colors of the image
How the position of light affects photography
You may have found yourself in backlit situations, where the light goes directly to your camera, and that affects negatively your image. In photography, sometimes you can move that light source, and other times you have to move the subject to change the position of the light.
| So the regular in photography is to use front lighting towards the subject and behind the camera lens, to highlight details. Why? With the light directly in front, the shadows fall behind the object, so there are no shadows in the image thta would hide parts of the picture. The front lighting is the simplest, however, sometimes it seems quite flat or boring. |
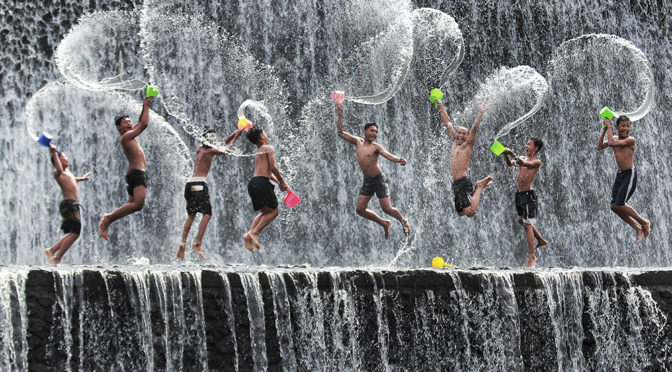
The side lighting, or placing the light source or subject so that the light hits from one side, combats the boring aspect of front lighting by creating shadows and depth. The side lighting is still quite simple. But you have to be careful and watch the shadows fall.
The side lighting does not have to be at a 90 degree angle. When shooting with side lighting, notice where the Shadows Fall: small adjustments to the subject position can create more interesting or favorable shadows. Remember the magic hours of the day?
The rear lighting is the most complicated in photography so you need to practice a lot to control it. Without a light modifier or understanding manual mode, it will be difficult to achieve good results.
Beginners are often best at avoiding backlighting scenarios, such as when placing the subject directly in front of a window. However, do not ignore it for too long: once you feel comfortable in manual mode, the backlight can create spectacular images. When in backlight, many things seem to Shine — leaves and flowers, for example. The backlight also gives the portraits a good pop and almost a halo effect.
With the light hitting the subject from behind, all the shadows of the light are at the front of the subject, making the subject a dark silhouette. However, using manual modes, you can adjust the exposure so that the subject is exposed correctly. That will leave the background overexposed, but that sometimes creates an interesting effect:
To avoid overexposure of the background, a reflector or flash in front of the subject can provide a more uniform exposure while giving brightness to the subject.
How to create ambient lights and shadows
Changing the position of the light source in relation to the subject changes where the shadows fall, but how light or dark are those shadows? That’s where the light source, and any light modifier, come into play.
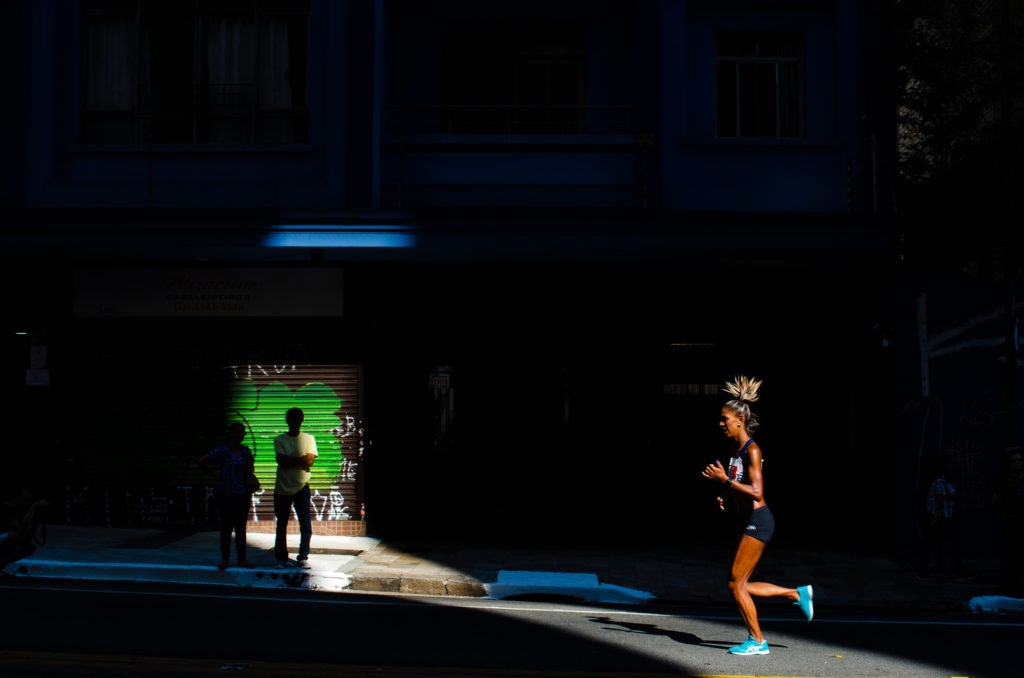
A strong light source produces shadows with minimal transition between the light and dark areas of the image. Strong light refers to the transition between light and darkness and not the depth of Shadows. Strong light has a bad reputation as it is often used incorrectly. But, strong light tends to create more contrast in an image. It can be combined with the position of light to avoid gloomy eyes and create drama within a portrait.
Soft light, on the other hand, has a much subtler transition between the light and dark areas of the image. When shooting photos in soft light, softer shadows prevent details from being lost in the dark areas of the image. When taking a portrait, the strong light tends to emphasize imperfections in the skin, while the soft light tends to disguise the spots a little better. Soft light is like the front lighting of the light direction: it is a great starting point for beginners because it is easier to work with it.
So what makes a light source strong or soft? Large light sources produce soft light, while smaller and focused light sources create those hard shadows. Camera flashes, without a switch, create hard light because they are small and focused light sources.
But distance also plays a role. Nearby light sources are softer, while distant light sources create that harsher transition between light and darkness. Taking a portrait next to a window, shooting near the window will create a soft light while moving the subject to the opposite side of the room will create harder shadows.
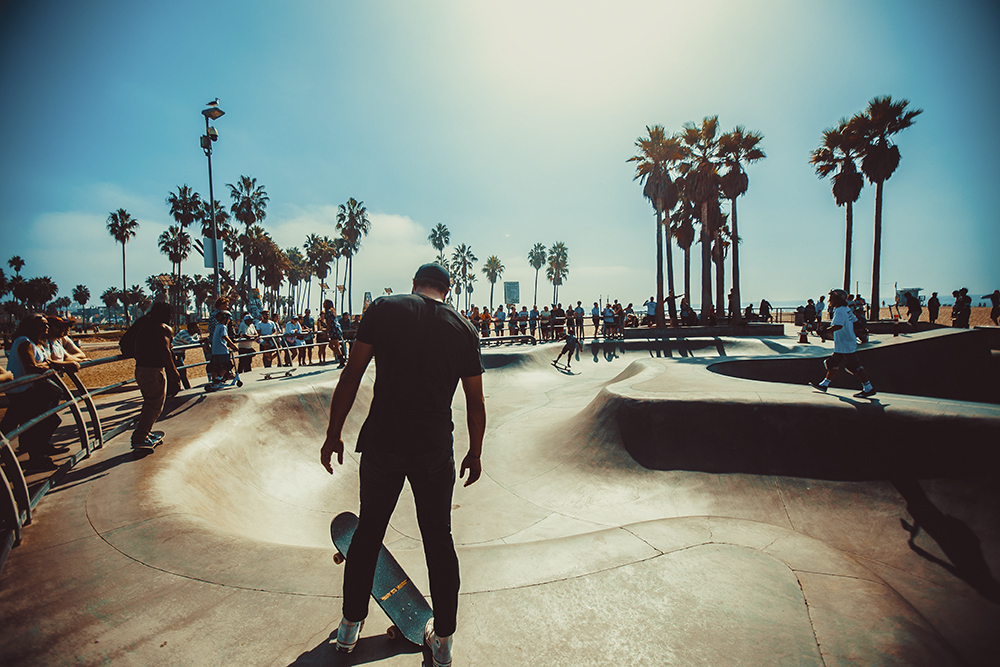
The sun is a great source of light, but it is so far away that it becomes a hard source of light. But shooting in the middle of the day with a cloudless sky, will end up with dark and harsh shadows.
On a cloudy day, however, that same sun produces a soft light. Why? Clouds diffuse light, or spread it over a larger area, and a larger light makes it softer. That’s why many photographers love cloudy days: soft light is easier to work with.
How different lighting conditions and sources change the colors of the image
A light bulb may look white to our eyes, but the light actually comes in different colors. The sunset sun creates an orange light. A fluorescent bulb will create a different light color than an incandescent one.
The camera’s white balance corrects the image automatically so that white objects are white in the picture under different light sources. Most cameras have an automatic white balance mode, as well as options that bear the name of different types of light sources, such as shadow and incandescent. Manual white balance allows you to take a picture of a white object, the camera will determine the white balance of that image. However, manual white balance does not offer as much control as using the Kelvin scale.
Setting the White balance on the Kelvin scale is the equivalent of manual mode for exposure: it gives photographers complete control over the white balance. Here’s the catch: the shade is often set at 7500K, while the daylight is about 5500K and the sunset 2500K.
An accurate white balance means that objects that are white in real life are also white in the image, but “accurate” is not always the right thing for photography. Using the Kelvin scale to skew the white balance to make it more orange creates a warm feeling in an image, creating a look similar to shooting near Sunset. On the other hand, adjusting the white balance towards the Blue end creates a fresher look, and it’s often used to create a gloomy atmosphere in a picture.
The white balance is also one of the reasons why many photographers shoot RAW files instead of JPEG: with a RAW file, adjusting the white balance is as simple as using a Lightroom slider. Doing it right on camera is easier, but editing in the publication with a raw file makes it easy to fix white balance errors. RAW files also make it easier to remove a green or purple hue.
In addition to using white balance to create a balanced image or one that is warm or cold, photographers can also be creative with the source of their light using flash gels. These colorful pieces fit the flash and create colorful lights, like the lights of a dance floor. Since color helps create mood in a photograph, using gels can be a fun way to experiment with light color.
Without light, there is no photography, and without understanding light, you simply cannot become a great photographer. Start by simply learning to recognize soft light and front and side lighting: these types of light are easy to work with and great for beginners. As you develop and learn to modify the light, you may start experimenting with strong light and backlighting. It may be more complicated to do it right, but they can create some outstanding pictures.
Font: Creativelive

Its like you read my mind! You appear to know a lot about this, like you wrote the book in it or something. I think that you could do with some pics to drive the message home a bit, but instead of that, this is great blog. An excellent read. I will certainly be back.
Unquestionably believe that which you said. Your favorite reason appeared to be on the web the easiest thing to be aware of. I say to you, I definitely get irked while people consider worries that they just do not know about. You managed to hit the nail upon the top and also defined out the whole thing without having side-effects , people can take a signal. Will likely be back to get more. Thanks